In this article we will learn how to generate and submit sitemap.xml file to popular search engines like Google, yahoo and others.
What is a sitemap?
A sitemap is an XML file that contains the URLs inside your blog. This file helps crawlers to find all of the URLs of your blog.
There are many aspects of your site that a crawler will follow, such as the size of your sitemap and the number of URLs in your sitemap. In short, a sitemap is a complete index of your blog that you want search engine bots to see.
This wiki article on sitemaps will give you more technical and historical details.
Simply stated, a sitemap file contains all the URLs of your blog, and you submit that file to search engines to let them know about all the pages of your blog. Search engine bots follow sitemap files to crawl and index your website.
You can learn more about crawling and indexing here.
For a normal website, we use an online sitemap generator to create a sitemap file and submit it to webmaster tools offered by Google and Bing. For WordPress blogs, we use plugins that automatically keep updating our sitemap file as we publish the new post. This way, you don’t have to resubmit a new sitemap after publishing new articles.
It’s a good practice to place your sitemap file link at the footer of your website so that search engine bots can quickly discover and follow the site map file and crawl your blog more effectively.
if you are on wordpress your can easily generate sitemap.xml file to submit to search engines.
How to generate sitemap.xml
There are two ways to generate xml file
-
Generate online
the easiest way to generate the file is Online method witch is very quick as compared to others.
- visit www.xml-sitemaps.com
- In the text field, input your website URL
.

- Upload it into the domain root folder of your website.
- click START and wait for the completion of the process
.
-
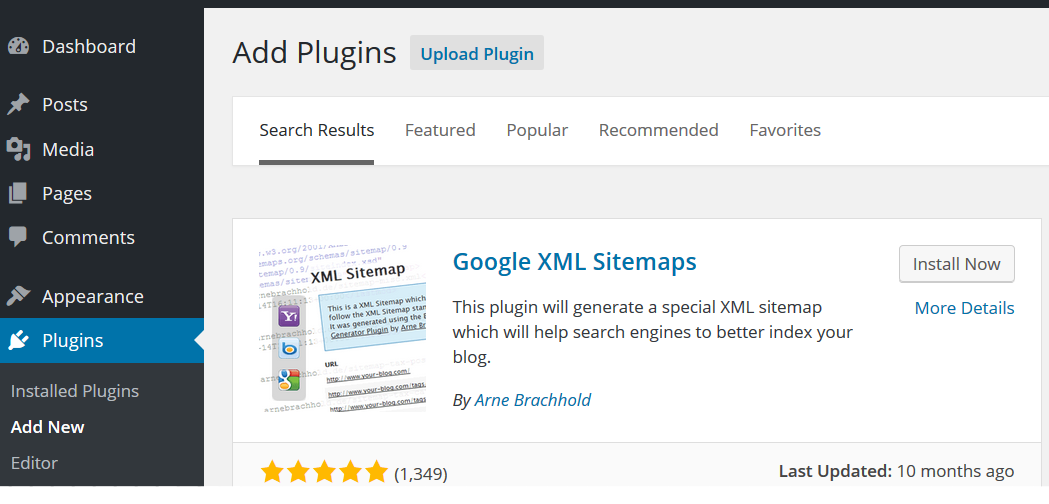
Generate using plugin
- Install Google XML Sitemaps and activate it.
.
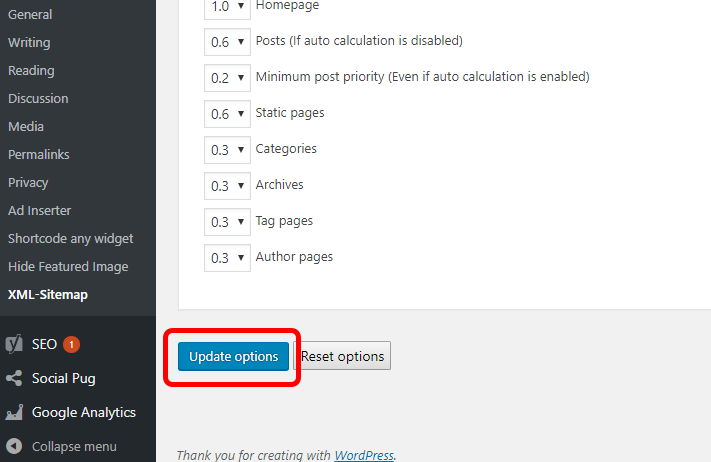
- After installation, go to Setting > XMPL-Sitemap

- Ah the bottom of the page, click update Options without changing anything above.
.
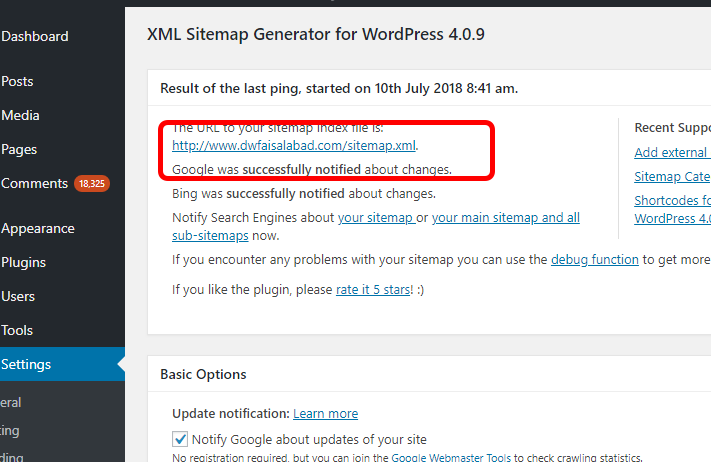
- After updating, you will see your sitemap link of your website.
.
- Install Google XML Sitemaps and activate it.
POPULAR SEARCH ENGINES
- Google Search Console (preferred)
- Bing Webmaster Tools
- Pinging Search Engines
Google Search Console
Google is our preferred search engine. If you haven’t added your website to Google Search Console, please follow these steps first. If these steps fail, please check Google’s official directions here for the most up to date steps.
- Sign in to Google Search Console.
- On your Search Console home page, select your website.
- In the left sidebar, click Crawl and then Sitemaps.
.

- Remove outdated or invalid sitemaps like sitemap.xml
- Click the Add/Test Sitemap button in the top right.
.

- Enter sitemap_index.xml into the text box that appears.
.
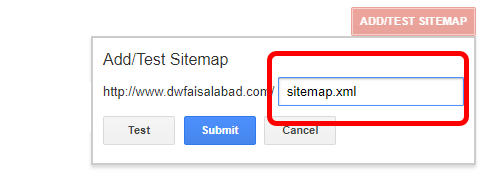
- Click Submit.
Bing Webmaster Tools
If you haven’t added your website to Bing Webmaster Tools, please follow these steps first. If these steps fail, please check Bing’s official directions here for the most up to date steps.
- Sign in to Bing Webmaster Tools.
- On the My Sites page, select your website.
- In the left sidebar, click Configure My Site and then Sitemaps.
- Remove outdated or invalid sitemaps like http://example.com/sitemap.xml
- Enter your sitemap URL into the text box at the top. Your sitemap URL will look like something like this: http://example.com/sitemap_index.xml.
- Click Submit.
Pinging Other Search Engines
After you have manually connected the sitemaps to Bing and Google, each time a post is updated Yoast will then automatically ping the search engines to have them come crawl the sitemap.
This filter can be used to disable all pinging for all search engines. It would go into the functions.php
add_filter (‘wpseo_allow_xml_sitemap_ping’, ‘__return_false’);