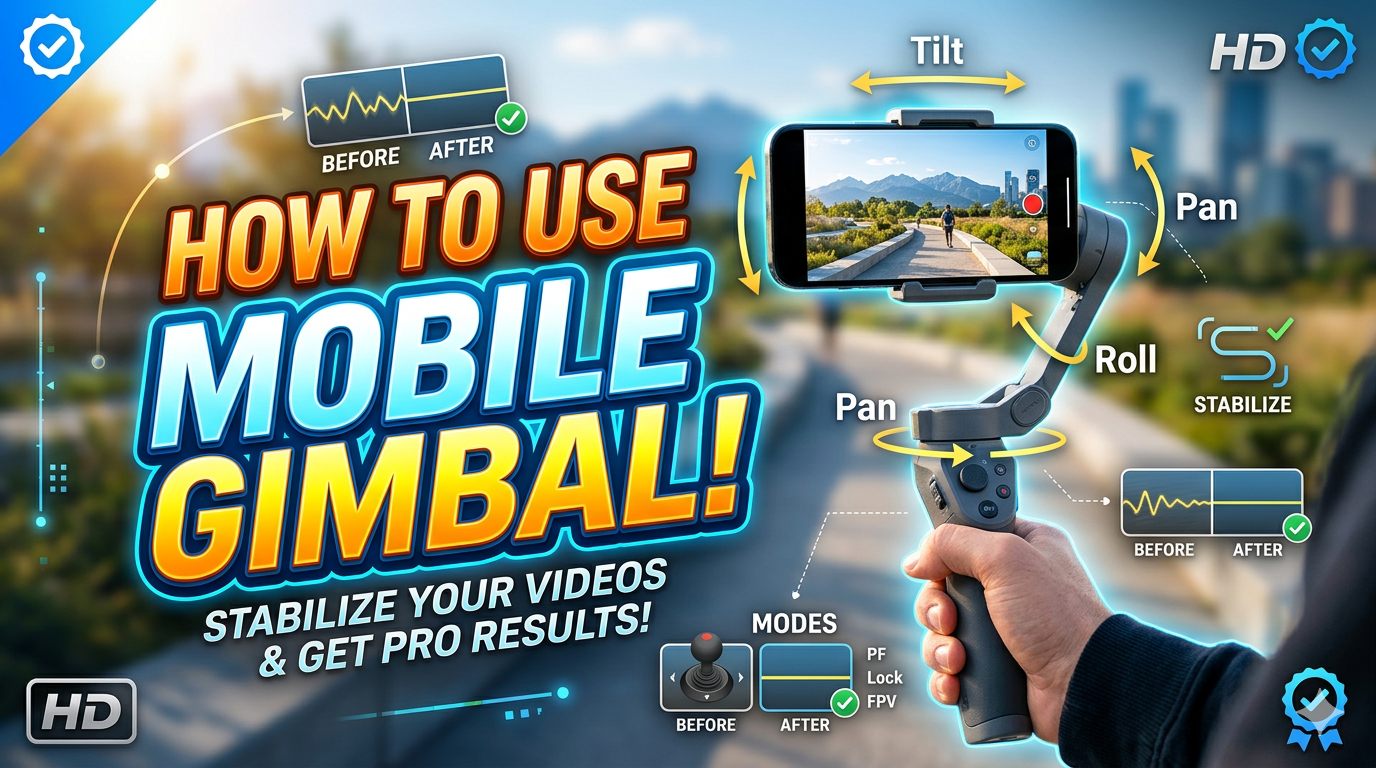
Using a mobile gimbal involves three main stages: Preparation, Operation, and Cinematic Techniques.
1. Preparation: Mount and Balance
Before turning the gimbal on, you must balance your phone to prevent motor strain and ensure smooth footage.
- Mount the Phone: Place your phone in the clamp, ensuring it is centered. Avoid clamping over your phone’s side buttons.
- Physical Balance: Adjust the phone’s position in the clamp or the gimbal’s arm until the phone stays level on its own while the power is OFF.
- Auto-Calibration: Once balanced and powered on, many modern gimbals (like the DJI Osmo Mobile series) have an “Auto Calibration” feature in their companion app to fine-tune stabilization
2. Operation: Basic Modes
Most gimbals offer four primary shooting modes to control how the camera follows your movement:
- Pan Follow (PF): The camera follows your left and right movements but keeps the horizon level. This is the best “default” mode for most shots.
- Follow (F): The camera follows both your pan (left/right) and tilt (up/down) movements. Use this for slanted or vertical shots.
- Lock Mode (L): The camera stays fixed on one point regardless of how you move the handle. This is perfect for straight “dolly” or “tracking” shots.
- FPV Mode: All three axes follow your movement, creating a first-person perspective that tilts and rolls with you
3. Cinematic Techniques
To get professional results, your physical movement is just as important as the gimbal itself:
- The “Ninja Walk”: Bend your knees slightly and walk heel-to-toe to minimize the up-and-down “bobbing” motion caused by your footsteps.
- Two-Handed Grip: Holding the gimbal with both hands provides significantly more stability than one.
- Classic Moves:
- Push-In/Pull-Out: Walk slowly toward or away from your subject to mimic a professional dolly shot.
- The Reveal: Start behind an object (like a tree or wall) and move the gimbal to the side to reveal your subject.