

Embed
Embed an Excel worksheet in a Word document and work with Excel in Word. You can also embed files in Excel.
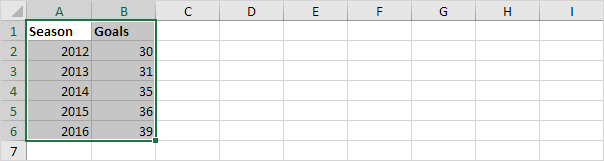
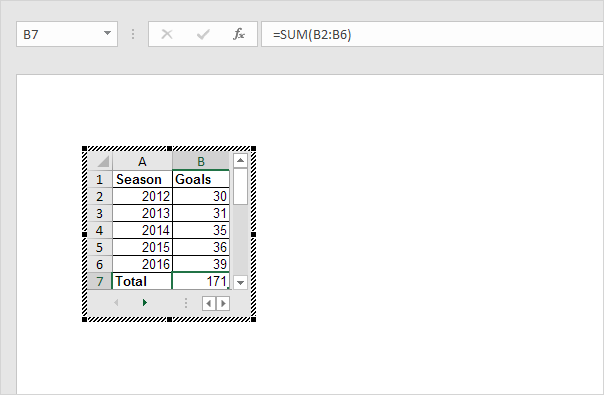
1. Select the Excel data.

2. Right click, and then click Copy (or press CTRL + c).
3. Open a Word document.
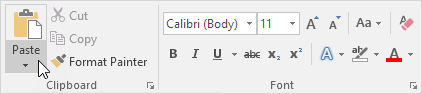
4. In word, on the Home tab, in the Clipboard group, click Paste.

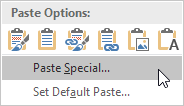
5. Click Paste Special.

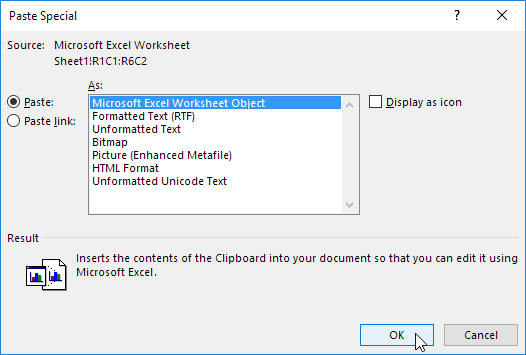
The Paste Special dialog box appears.
6. Click Paste, Microsoft Excel Worksheet Object.
7. Click OK.

8. Double click the object to work with it. For example, format the table and insert a SUM function.

Note: the embedded object is part of the Word file. There’s no link to the original Excel file. To create a link, at step 6, click Paste Link, Microsoft Excel Worksheet Object. Now, if you double click the object, Excel opens the Excel file. To embed a file in Excel, on the Insert tab, in the Text group, click Object.
Online
You can edit Excel files with Excel Online from anywhere without having Excel installed on your computer.
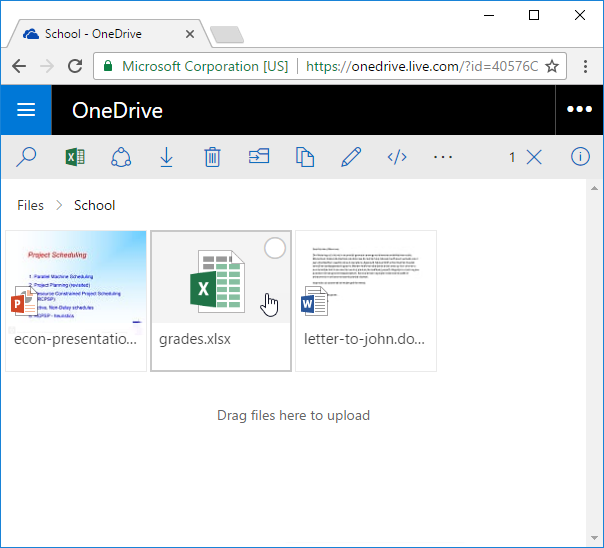
1. First, save an Excel file to your OneDrive location.
2. Go to onedrive.live.com and sign in with your Microsoft account.
3. Click an Excel file.

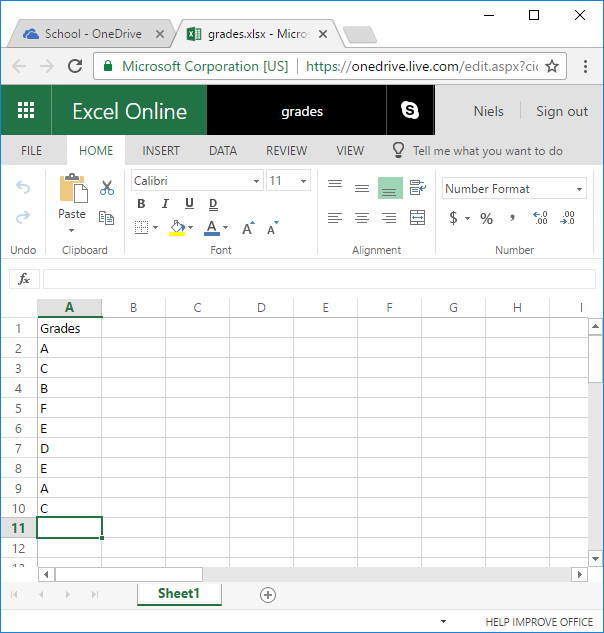
Excel Online opens the workbook in the browser.
4. Edit your Excel file.

Note: there is no need to save your file since all changes are being saved automatically. Not all features are available in Excel Online.
Import Access Data
This example teaches you how to import data from a Microsoft Access database. In Excel, when you import data, you make a permanent connection that can be refreshed.
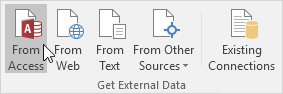
1. On the Data tab, in the Get External Data group, click From Access.

2. Select the Access file.
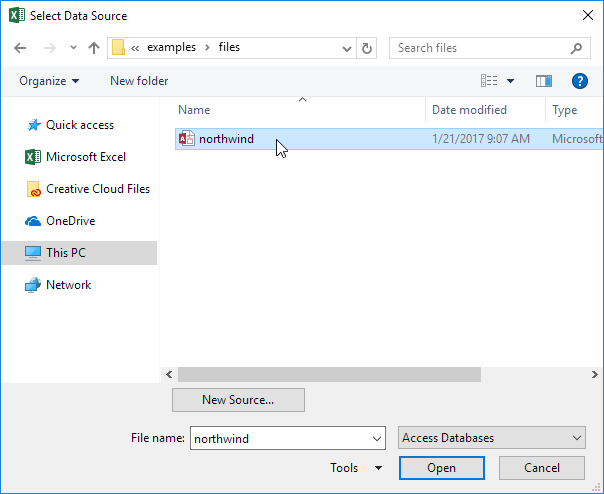

3. Click Open.
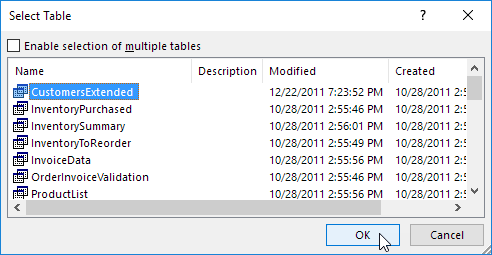
4. Select a table and click OK.

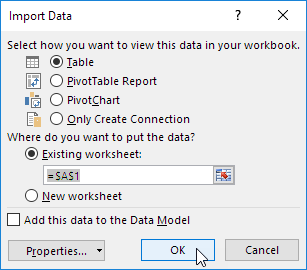
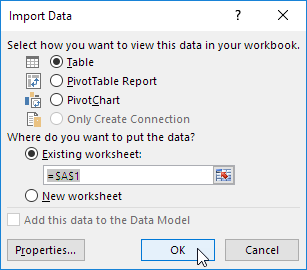
5. Select how you want to view this data, where you want to put it, and click OK.

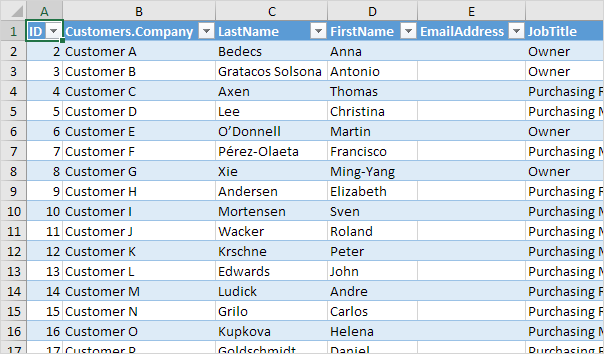
Result. Your database records in Excel.

6. When your Access data changes, you can easily refresh the data in Excel. First, select a cell inside the table. Next, on the Design tab, in the External Table Data group, click Refresh.


Import/Export Text Files
This article describes how to import or export text files. Text files can be comma separated (.csv) or tab separated (.txt)
Import
To import text files, execute the following steps.
1. On the File tab, click Open.
2. Click Browse.
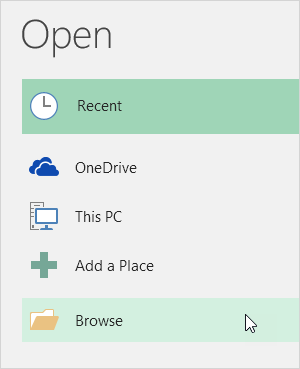

3. Select Text Files from the drop-down list.
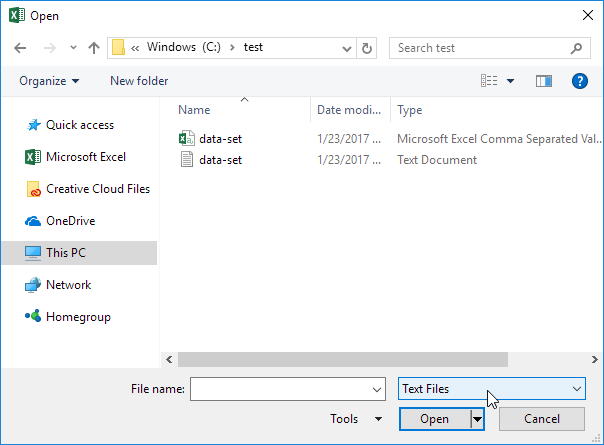

4a. To import a .csv file, select the Microsoft Excel Comma Separated Values File and click Open. That’s all.
4b. To import a .txt file, select the Text Document and click Open. Excel launches the Text Import Wizard.
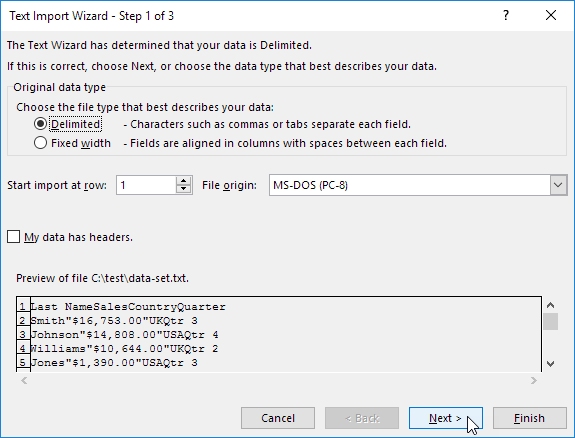
5. Choose Delimited and click Next.

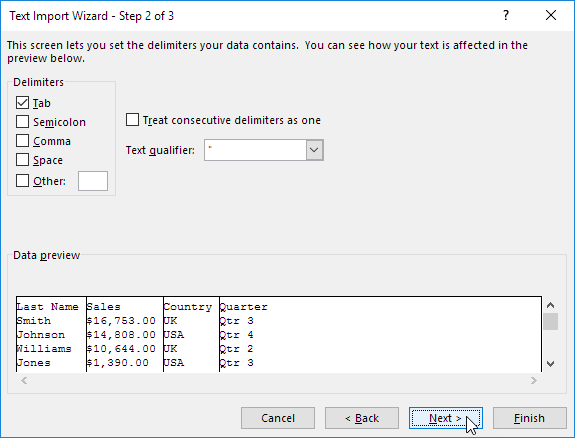
6. Clear all the check boxes under Delimiters except for the Tab check box and click Next.
7. Click Finish.

Result:

Export
To export text files, execute the following steps.
1. Open an Excel file.
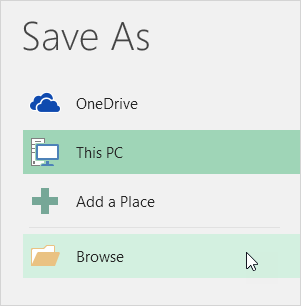
2. On the File tab, click Save As.
3. Click Browse.

4. Select Text (Tab delimited) or CSV (Comma delimited) from the drop-down list.


5. Click Save.
Result. A .csv file (comma separated) or a .txt file (tab separated).

XML
You can convert your Excel file to an XML data file, or vice versa. This enables you to exchange data between different applications. First, turn on the Developer tab.
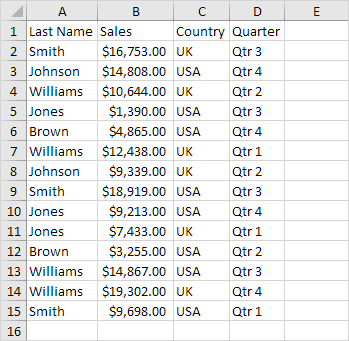
Here’s the data we want to convert to an XML data file.

First, we will create a schema based on XML source data. The schema defines the structure of the XML file. We have to do this outside Excel.
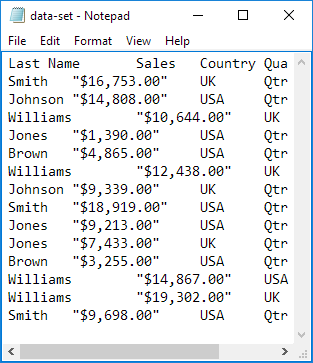
1. For example, open Notepad and add the following lines.
<?xml version=”1.0″ encoding=”UTF-8″ standalone=”yes”?>
<data-set xmlns:xsi=”http://www.w3.org/2001/XMLSchema-instance”>
<record>
<LastName>Smith</LastName>
<Sales>16753</Sales>
<Country>UK</Country>
<Quarter>Qtr 3</Quarter>
</record>
<record>
<LastName>Johnson</LastName>
<Sales>14808</Sales>
<Country>USA</Country>
<Quarter>Qtr 4</Quarter>
</record>
</data-set>
Note: the tags refer to the column names, but you can give them any name you want! For example, instead of LastName use Name.
2. Save the file as schema.xml.
3. Open data-set.xlsx.
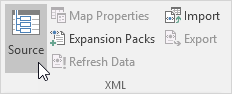
4. On the Developer tab, in the XML group, click Source to open the XML Source task pane.

5. To add an XML map, click XML Maps.
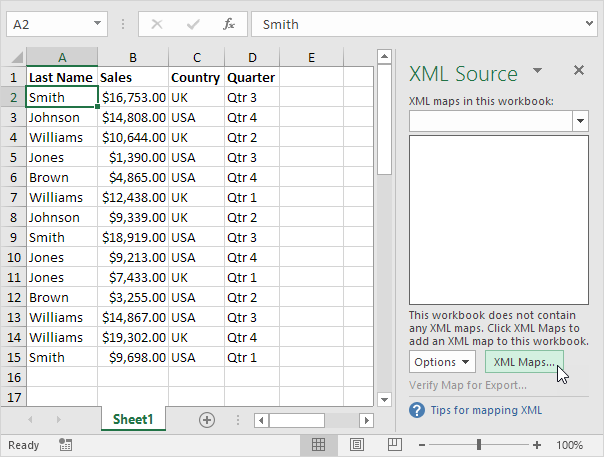

The XML Maps dialog box appears.
6. Click Add.
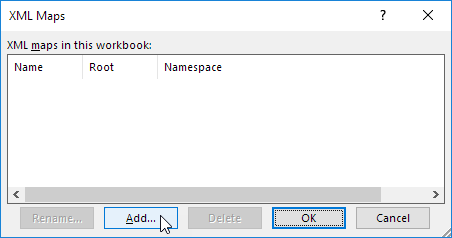

7. Select schema.xml and click OK twice.
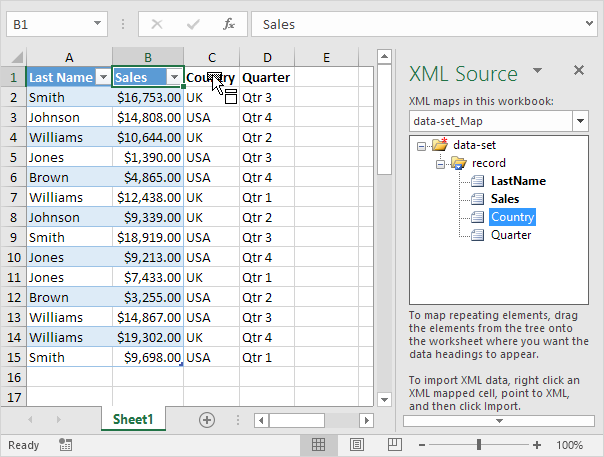
8. Now simply drag (map) the 4 elements from the tree onto the worksheet (row 1).
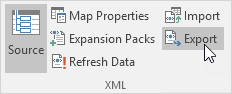
9. On the Developer tab, in the XML group, click Export.
10. Save your file as data-set.xml and press Enter.
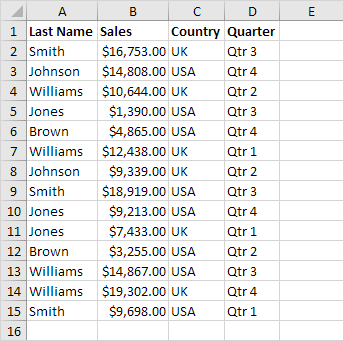
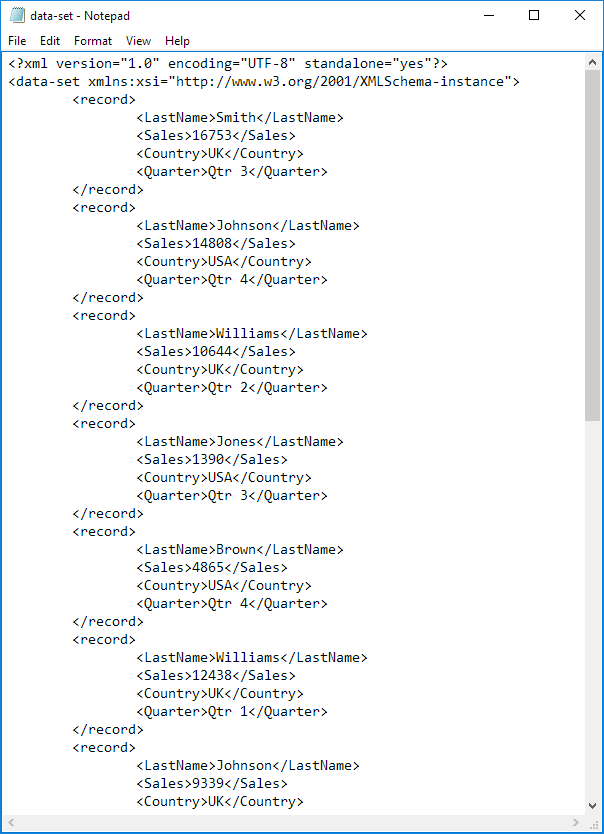
Result:

That saves quite a lot of time!
Note: to import an XML file, open a blank workbook, on the Developer tab, in the XML group, click Import, and select the XML file.
Microsoft Query
This example teaches you how to import data from a Microsoft Access database by using the Microsoft Query Wizard. With Microsoft Query, you can select the columns of data that you want and import only that data into Excel.
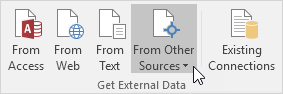
1. On the Data tab, in the Get External Data group, click From Other Sources.
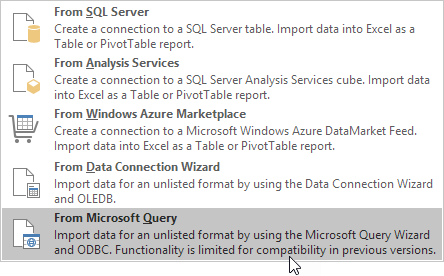
2. Click From Microsoft Query.

The ‘Choose Data Source” dialog box appears.
3. Select MS Access Database* and check ‘Use the Query Wizard to create/edit queries’.
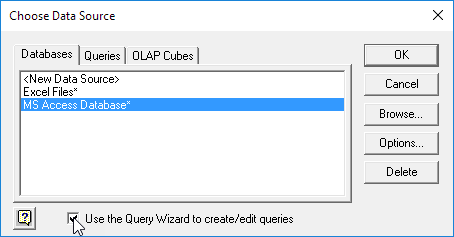

4. Click OK.
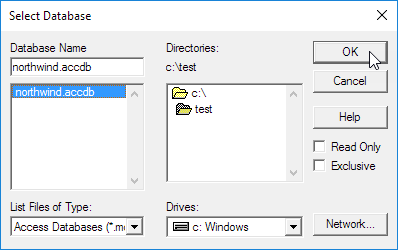
5. Select the database and click OK.

This Access database consists of multiple tables. You can select the table and columns you want to include in your query.
6. Select Customers and click the > symbol.
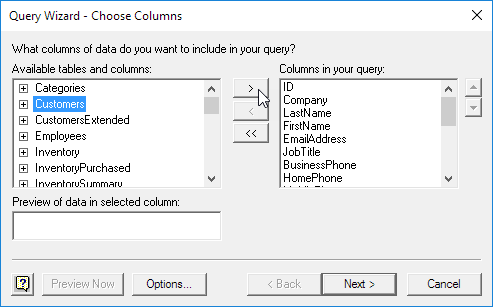

7. Click Next.
To only import a specified set of records, filter the data.
8. Click City from the ‘Column to filter’ list and only include rows where City equals New York.
9. Click Next.
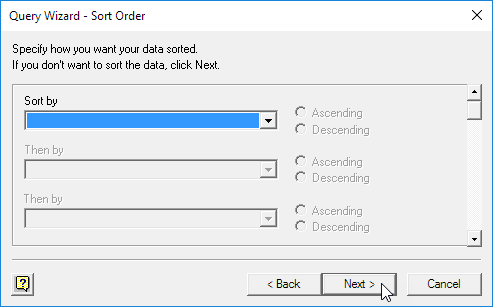
You can sort your data if you want (we don’t do it here).
10. Click Next.

11. Click Finish to return the data to Microsoft Excel.
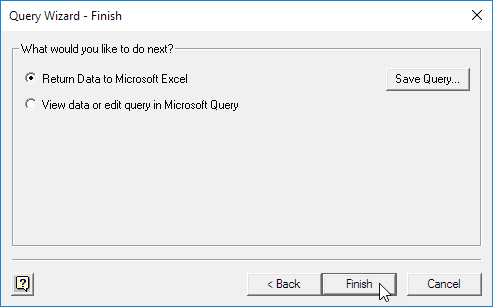
12. Select how you want to view this data, where you want to put it, and click OK.
Result:


13. When your Access data changes, you can easily refresh the data in Excel. First, select a cell inside the table. Next, on the Design tab, in the External Table Data group, click Refresh.
