PowerPoint is a presentation program that allows you to create dynamic slide presentations. These presentations can include animation, narration, images, videos, and much more. In this lesson, you’ll learn your way around the PowerPoint environment, including the Ribbon, Quick Access Toolbar, and Backstage view.
Getting to know PowerPoint
PowerPoint 2016 is similar to PowerPoint 2013 and PowerPoint 2010. If you’ve previously used these versions, PowerPoint 2016 should feel familiar. But if you are new to PowerPoint or have more experience with older versions, you should first take some time to become familiar with the PowerPoint 2016 interface.
The PowerPoint interface
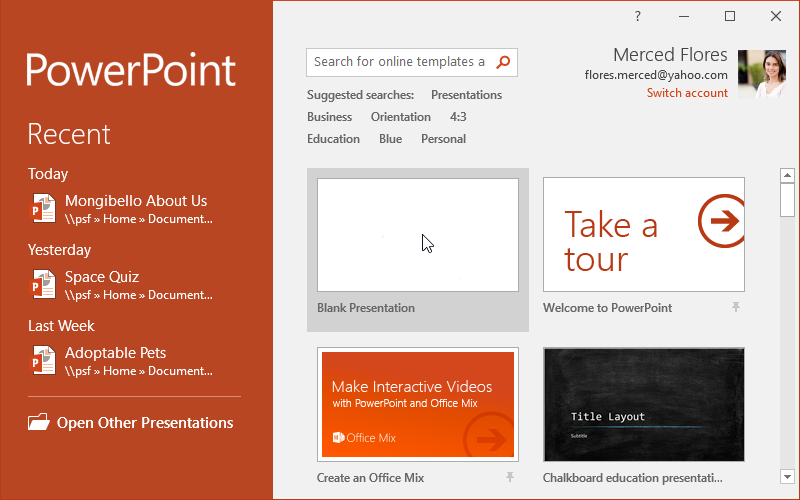
When you open PowerPoint for the first time, the Start Screen will appear. From here, you’ll be able to create a new presentation, choose a template, and access your recently edited presentations. From the Start Screen, locate and select Blank Presentation to access the PowerPoint interface.
Click the buttons in the interactive below to become familiar with the PowerPoint interface.
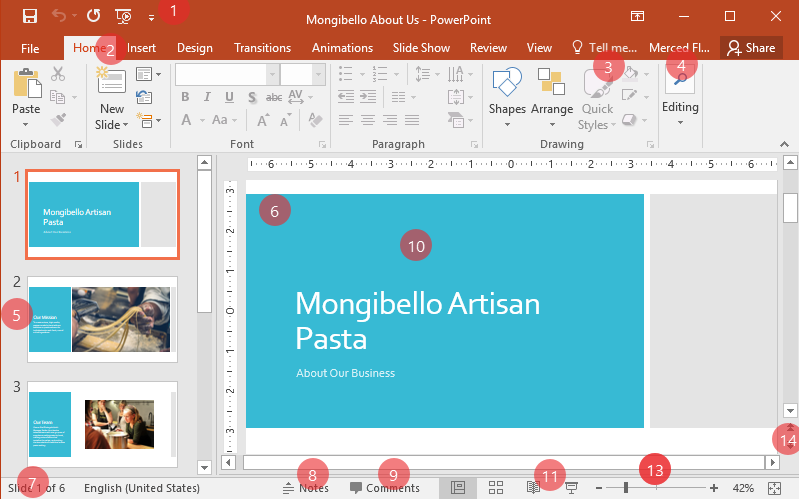
- Quick Access Toolbar: The Quick Access Toolbar lets you access common commands no matter which tab is selected. You can customize the commands depending on your preference.
- The Ribbon: the Ribbon contains all of the commands you will need to perform common tasks in PowerPoint. It has multiple tabs, each with several groups of commands.
- Tell Me: The Tell me box works like a search bar to help you quickly find tools or commands you want to use.
- Microsoft Account: From here, you can access your Microsoft account information, view your profile, and switch accounts.
- Slide Navigation Pane: The slide navigation pane allows you to view and organize the slides in your presentation.
- Ruler: The Ruler is located at the top and to the left of your current slide. It makes it easy to align text and objects on your slide.
- Slide Number Indicator: Here, you can quickly see the total number of slides in your presentation, as well as which slide you are viewing.
- Notes: Click Notes to add notes to your current slide. Often called speaker notes, they can help you deliver or prepare for your presentation.
- Comments: Reviewers can leave comments on any slide. Click Comments to view comments for the current slide.
- Slide Pane: Here, you can view and edit the selected slide.
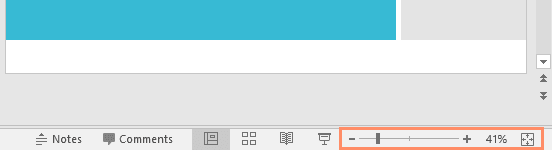
- Zoom Control: Click and drag the slider to use the zoom control. The number to the right of the slider reflects the zoom percentage.
- .
- Zoom Control: Click and drag the slider to use the zoom control. The number to the right of the slider reflects the zoom percentage.
Working with the PowerPoint environment
The Ribbon and Quick Access Toolbar are where you will find the commands to perform common tasks in PowerPoint. Backstage view gives you various options for saving, opening a file, printing, and sharing your document.
Zoom and other view options
PowerPoint has a variety of viewing options that change how your presentation is displayed. You can choose to view your presentation in Normal view, Slide Sorter view, Reading view, or Slide Show view. You can also zoom in and out to make your presentation easier to read.
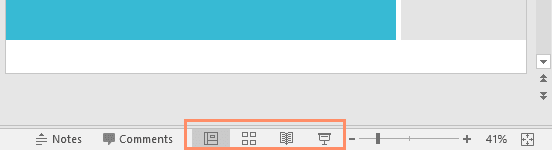
Switching slide views
Switching between different slide views is easy. Just locate and select the desired slide view command in the bottom-right corner of the PowerPoint window.
To learn more about slide views, see our Managing Slides lesson.
Zooming in and out
To zoom in or out, click and drag the zoom control slider in the bottom-right corner of the PowerPoint window. You can also select the + or – commands to zoom in or out by smaller increments. The number next to the slider displays the current zoom percentage, also called the zoom level.
Backstage view
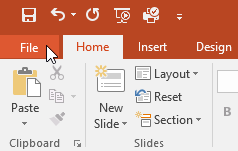
Backstage view gives you various options for saving, opening, printing, and sharing your presentations. To access Backstage view, click the File tab on the Ribbon.
Click the buttons in the interactive below to learn more about using Backstage view.
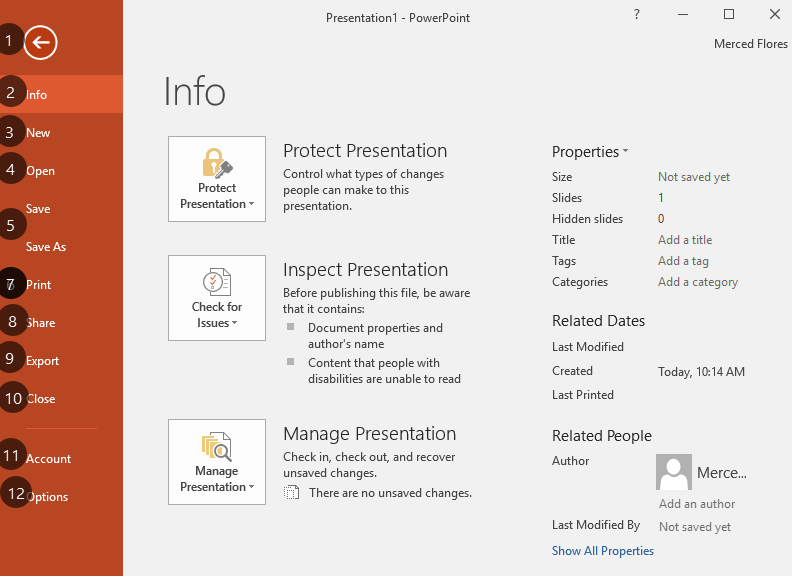
1. Back to PowerPoint: You can use the arrow to close Backstage view and return to PowerPoint.
3. New: From here, you can create a new blank presentation or choose from a large selection of templates.
4. Open: From here, you can open recent presentations, as well as presentations saved to your OneDrive or on your computer.
5. Save and Save As: Use Save and Save As to save your presentation to your computer or to your OneDrive.
7. Print: From the Print pane, you can change the print settings and print your presentation. You can also see a preview of your presentation.
8. Share: From here, you can invite people to view and collaborate on your presentation. You can also share your presentation by emailing it as an attachment.
9. Export: You can choose to export your workbook in another format, such as PDF/XPS or PowerPoint 97-2003.
10. Close: Click here to close the current presentation.
11. Account: From the Account pane, you can access your Microsoft account information, modify your theme and background, and sign out of your account.
12. Options: Here, you can change various PowerPoint options, settings, and language preferences.
The Quick Access Toolbar
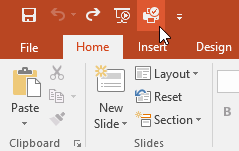
Located just above the Ribbon, the Quick Access Toolbar lets you access common commands no matter which tab is selected. By default, it includes the Save, Undo, Redo, and Start From Beginning commands. You can add other commands depending on your preference.
To add commands to the Quick Access Toolbar:
Click the drop-down arrow to the right of the Quick Access Toolbar.
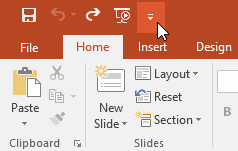
Select the command you want to add from the drop-down menu. To choose from more commands, select More Commands.
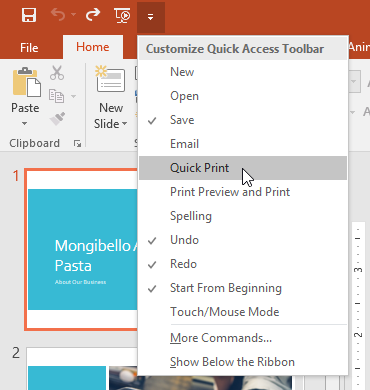
The command will be added to the Quick Access Toolbar.
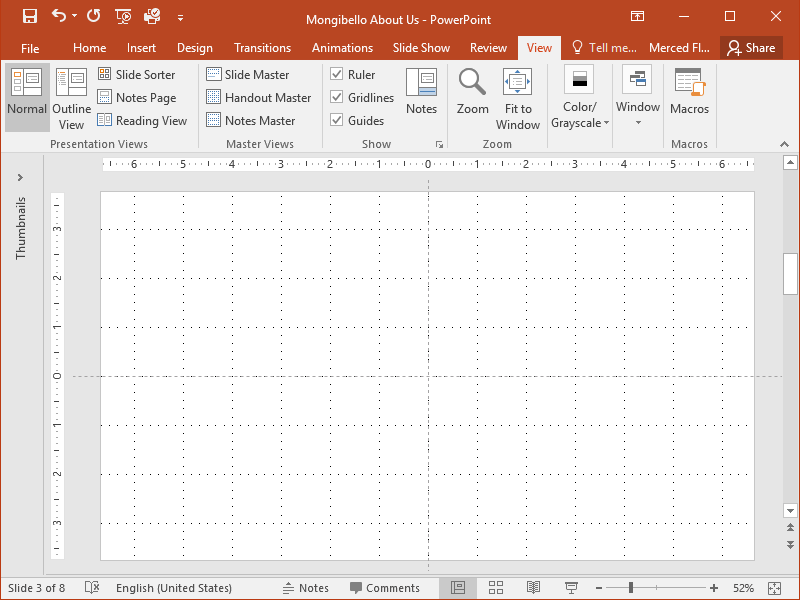
The Ruler, guides, and gridlines
PowerPoint includes several tools to help organize and arrange content on your slides, including the Ruler, guides, and gridlines. These tools make it easier to align objects on your slides. Simply click the check boxes in the Show group on the View tab to show and hide these tools.
The Ribbon
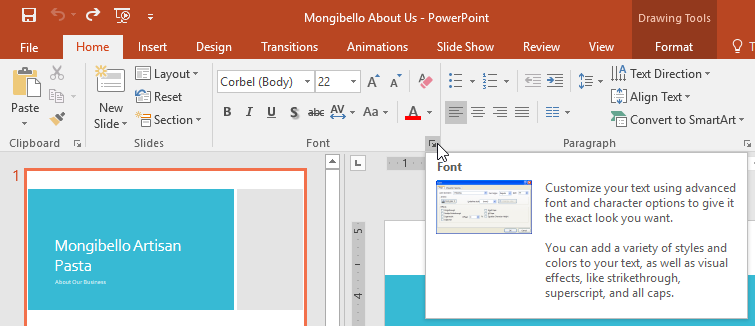
 Some groups also have a small arrow in the bottom-right corner that you can click for even more options.
Showing and hiding the Ribbon
The Ribbon is designed to respond to your current task, but you can choose to minimize it if you find that it takes up too much screen space. Click the Ribbon Display Options arrow in the upper-right corner of the Ribbon to display the drop-down menu.
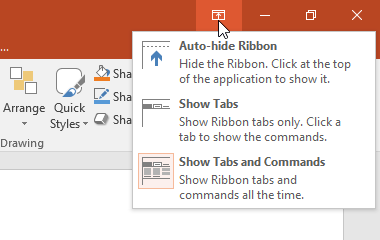
- Auto-hide Ribbon: Auto-hide displays your workbook in full-screen mode and completely hides the Ribbon. To show the Ribbon, click the Expand Ribbon command at the top of screen
- Show Tabs: This option hides all command groups when they’re not in use, but tabs will remain visible. To show the Ribbon, simply click a tab.
- Show Tabs and Commands: This option maximizes the Ribbon. All of the tabs and commands will be visible. This option is selected by default when you open PowerPoint for the first time.
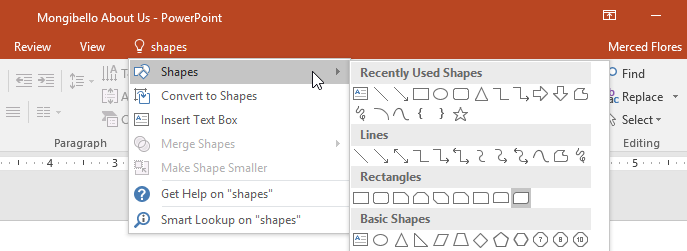
Using the Tell me feature
If you’re having trouble finding command you want, the Tell Me feature can help. It works just like a regular search bar: Type what you’re looking for, and a list of options will appear. You can then use the command directly from the menu without having to find it on the Ribbon.