Developer Tab | Command Button | Assign a Macro | Visual Basic Editor
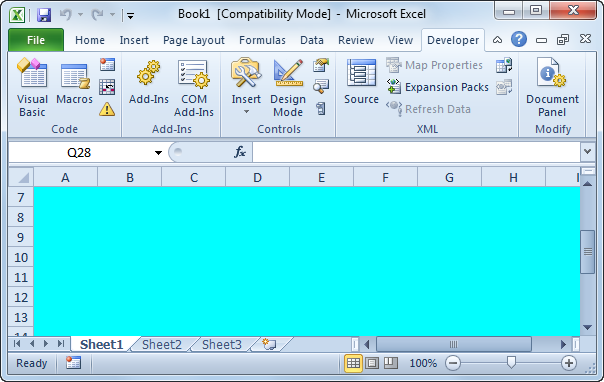
With Excel VBA you can automate tasks in Excel by writing so called macros. In this chapter, learn how to create a simple macro which will be executed after clicking on a command button. First, turn on the Developer tab.
Developer Tab
To turn on the Developter tab, execute the following steps.
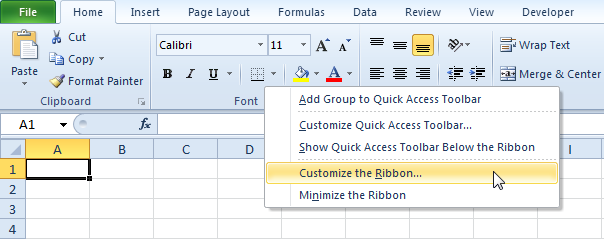
1. Right click anywhere on the ribbon, and then click Customize the Ribbon.
2. Under Customize the Ribbon, on the right side of the dialog box, select Main tabs (if necessary).
3. Check the Developer check box.
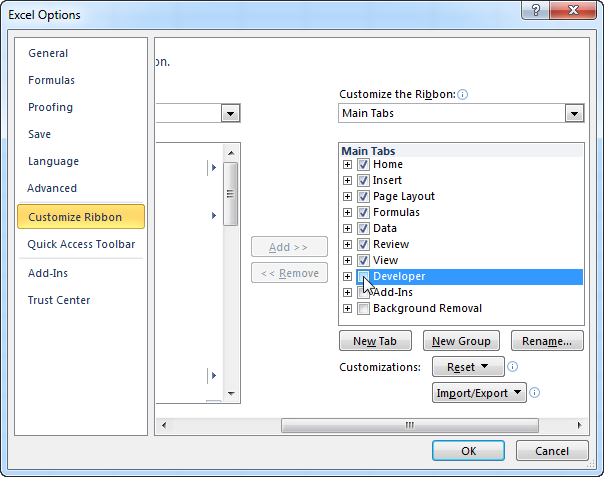
4. Click OK.
5. You can find the Developer tab next to the View tab.

Command Button
To place a command button on your worksheet, execute the following steps.
1. On the Developer tab, click Insert.
2. In the ActiveX Controls group, click Command Button.
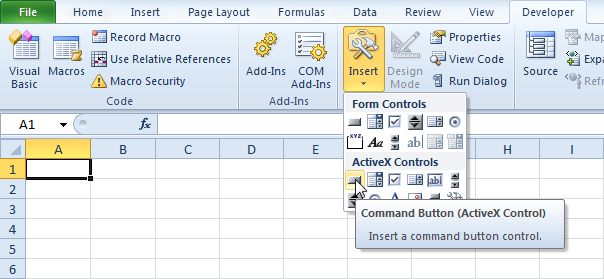
3. Drag a command button on your worksheet.
Assign a Macro
To assign a macro (one or more code lines) to the command button, execute the following steps.
1. Right click CommandButton1 (make sure Design Mode is selected).
2. Click View Code.
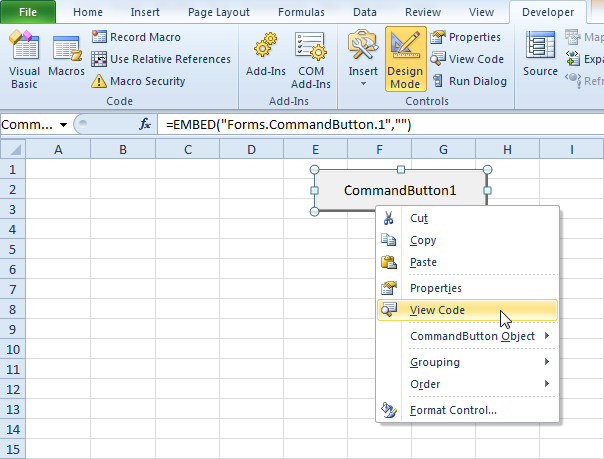
The Visual Basic Editor appears.
3. Place your cursor between Private Sub CommandButton1_Click() and End Sub.
4. Add the code line shown below.
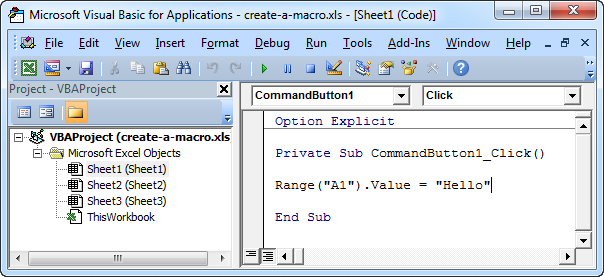
Note: the window on the left with the names Sheet1, Sheet2 and Sheet3 is called the Project Explorer. If the Project Explorer is not visible, click View, Project Explorer. To add the Code window for the first sheet, click Sheet1 (Sheet1).
5. Close the Visual Basic Editor.
6. Click the command button on the sheet (make sure Design Mode is deselected).
Result:
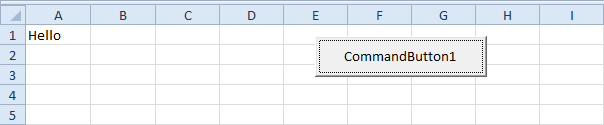
Congratulations. You’ve just created a macro in Excel!
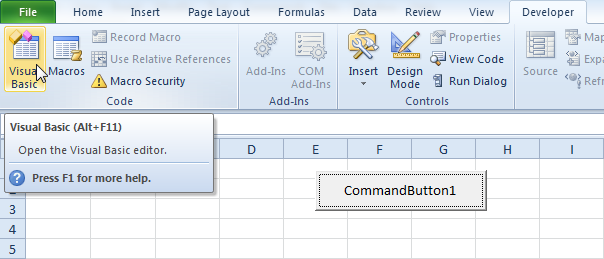
Visual Basic Editor
To open the Visual Basic Editor, on the Developer tab, click Visual Basic.
The Visual Basic Editor appears.

Swap Values
This example teaches you how to swap two values in Excel VBA. You will often need this structure in more complicated programs as we will see later.
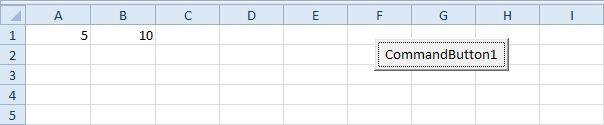
Situation:
Two values on your worksheet.

Place a command button on your worksheet and add the following code lines:
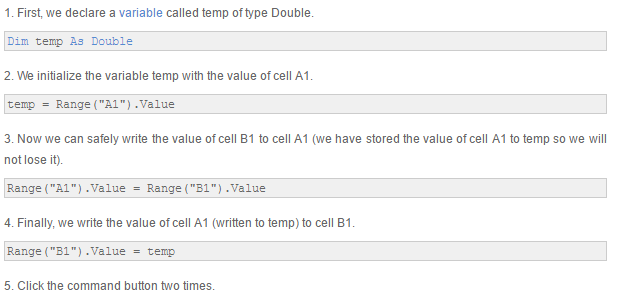
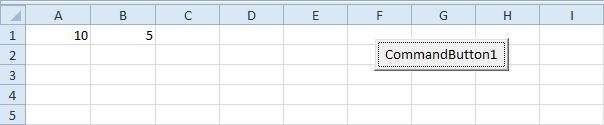
Result:
Run Code from a Module
As a beginner to Excel VBA, you might find it difficult to decide where to put your VBA code. The Create a Macro chapter illustrates how to run code by clicking on a command button. This example teaches you how to run code from a module.
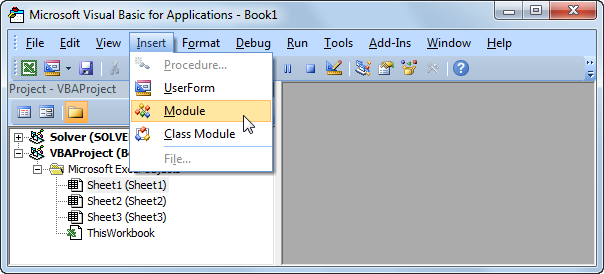
1. Open the Visual Basic Editor.
2. Click Insert, Module.
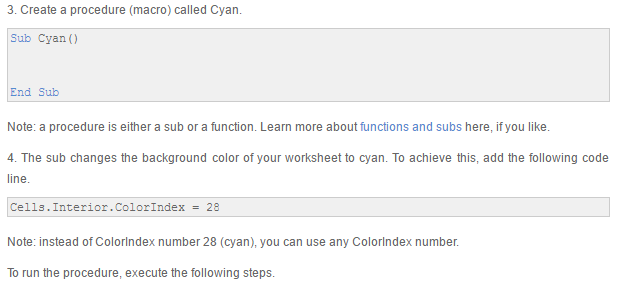

6. Select Cyan and click Run.
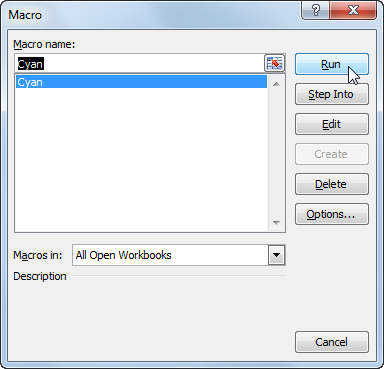
Result:
Note: code placed into a module is available to the whole workbook. That means, you can select Sheet2 or Sheet3 and change the background color of these sheets as well. The Add a Macro to the Toolbar program illustrates how to make a macro available to all your workbooks (Excel files). Remember, code placed on a sheet (assigned to a command button) is only available for that particular sheet.
Macro Recorder
Record a Macro | Run a Recorded Macro | See the Macro
The Macro Recorder, a very useful tool included in Excel VBA, records every task you perform with Excel. All you have to do is record a specific task once. Next, you can execute the task over and over with the click of a button. The Macro Recorder is also a great help when you don’t know how to program a specific task in Excel VBA. Simply open the Visual Basic Editor after recording the task to see how it can be programmed.
Unfortunately, there are a lot of things you cannot do with the Macro Recorder. For example, you cannot loop through a range of data with the Macro Recorder. Moreover, the Macro Recorder uses a lot more code than is required, which can slow your process down.
Record a Macro
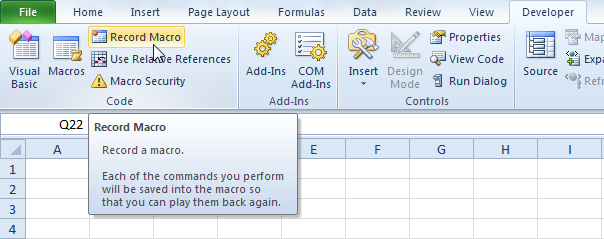
1. On the Developer tab, click Record Macro.
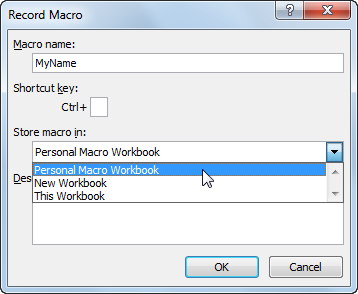
2. Enter a name.
3. Select This Workbook from the drop-down list. As a result, the macro will only be available in the current workbook.
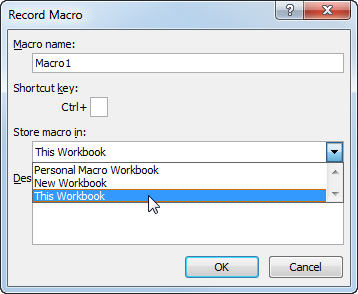
Note: if you store your macro in Personal Macro Workbook, the macro will be available to all your workbooks (Excel files). This is possible because Excel stores your macro in a hidden workbook that opens automatically when Excel starts. If you store your macro in New Workbook, the macro will only be available in an automatically new opened workbook.
4. Click OK.
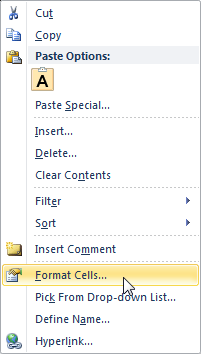
5. Right mouse click on the active cell (selected cell). Be sure not to select any other cell! Next, click Format Cells.
6. Select Percentage.

7. Click OK.
8. Finally, click Stop Recording.
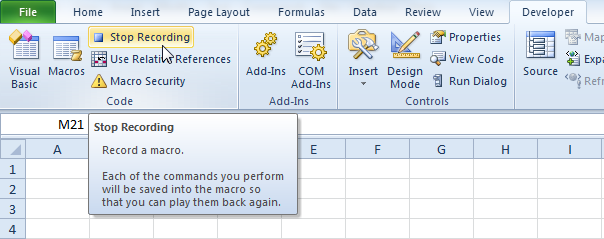
Congratulations. You’ve just recorded a macro with the Macro Recorder!
Run a Recorded Macro
Now we’ll test the macro to see if it can change the number format to Percentage.
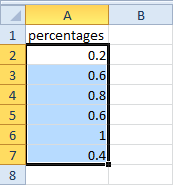
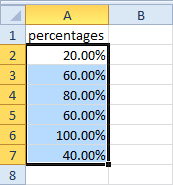
1. Enter some numbers between 0 and 1.
2. Select the numbers.
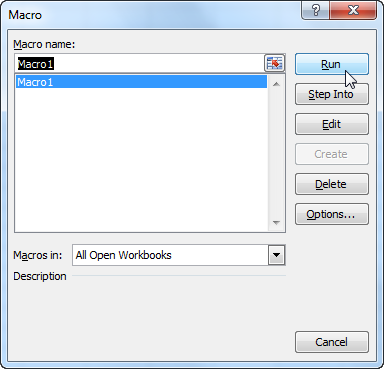
3. On the Developer tab, click Macros.
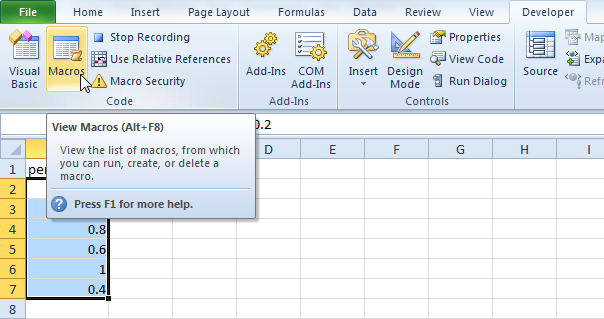
4. Click Run.
Result:
See the Macro
To take a look at the macro, open the Visual Basic Editor.
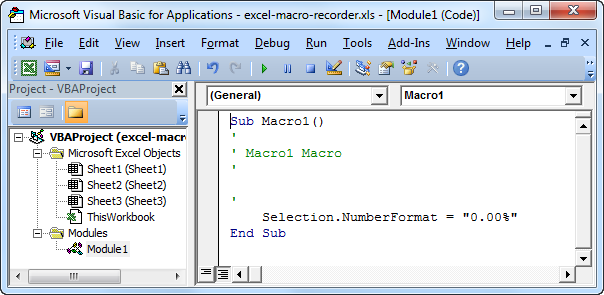
Note: the macro has been placed into a module called Module1. Code placed into a module is available to the whole workbook. That means, you can select Sheet2 or Sheet3 and change the number format of cells on these sheets as well. Remember, code placed on a sheet (assigned to a command button) is only available for that particular sheet.
Use Relative References
By default, Excel records macros in absolute mode. However, sometimes it is useful to record macros in relative mode. This program teaches you how to do this. If you don’t know how to record a macro, we highly recommend you to read this example first.
Recording in Absolute Mode
To record a macro in absolute mode, execute the following steps.
1. First, click Record Macro.
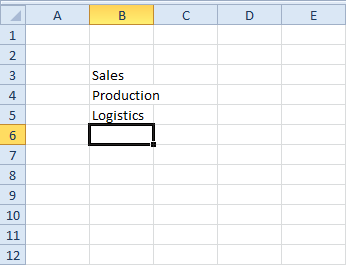
2. Next, select cell B3. Type Sales and press enter.
3. Type Production and press enter.
4. Type Logistics and press enter.
Result:

5. Click Stop Recording.
6. Empty Range(“B3:B5”).
7. Select any cell on the sheet and run the recorded macro.
Result:
A macro recorded in absolute mode always produces the same result.
Recording in Relative Mode
Wouldn’t it be nice to place these words anywhere on the sheet automatically? Not just Range(“B3:B5”). This would make the macro much more flexible. Solution: record the macro in relative mode.
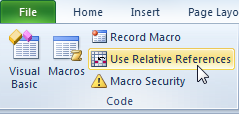
1. Select “Use Relative References”.
2. First, select any single cell (for example, cell B8).
3. Next, click Record Macro.
4. Type Sales and press enter.
5. Type Production and press enter.
6. Type Logistics and press enter.
Result:

7. Click Stop Recording.
8. Select any other cell (for example, cell D4) and run the recorded macro.
Result:
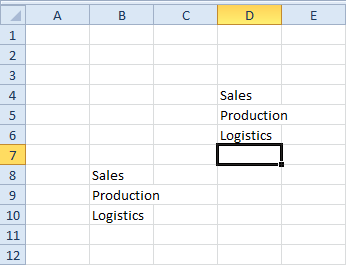
Excel places the words relative to the initial selected cell. That’s why it’s called recording in relative mode.
FormulaR1C1
This example illustrates the difference between A1, R1C1 and R[1]C[1] style in Excel VBA.
1. Place a command button on your worksheet and add the following code line (A1 style):

Result:

2. Add the following code line (R1C1 style):

Result:
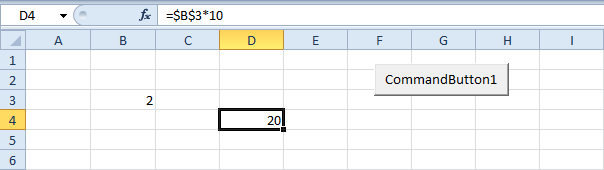
Explanation: cell D4 references cell B3 (row 3, column 2). This is an absolute reference ($ symbol in front of the row number and column letter).
3. Add the following code line (R[1]C[1] style):

Result:
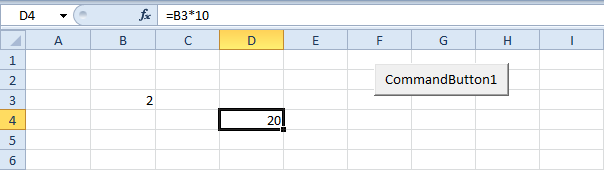
Explanation: cell D4 references cell B3 (one row above and 2 columns to the left). This is a relative reference. This code line gives the exact same result as the code line used at step 1.
4. Why learning about this? Because the Macro Recorder uses the FormulaR1C1 property (R[1]C[1] style). The Macro Recorder creates the following code lines if you enter the formula =B3*10 into cell D4.
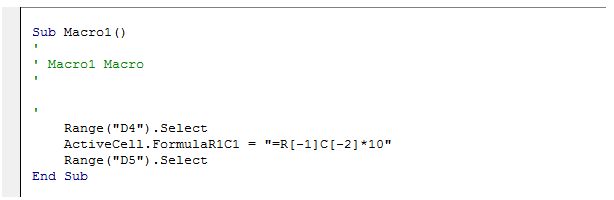
Explanation: you can see that this is the exact same code line used at step 3.
Add a Macro to the Toolbar
If you use an Excel macro frequently, you can add it to the Quick Access Toolbar. This way you can quickly access your macro. First, we record an empty macro.
1. On the Developer tab, click Record Macro.

2. Name the macro MyName. Choose to store the macro in Personal Macro Workbook. This way the macro will be available to all your workbooks (Excel files). This is possible because Excel stores your macro in a hidden workbook that opens automatically when Excel starts.
3. Click Stop Recording.

4. Open the Visual Basic Editor.
5. Create the macro:
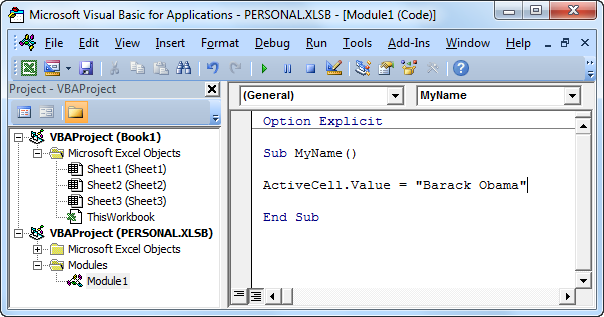
This macro places your name in the Active Cell.
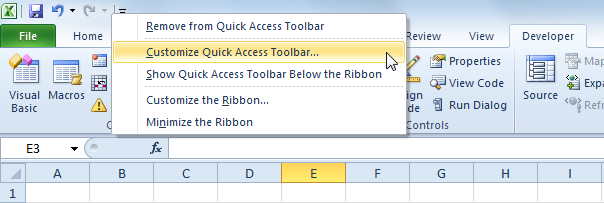
6. Now we can add this macro to the Quick Access Toolbar. Right click the Quick Access Toolbar and select Customize Quick Access Toolbar.
7. Under Choose commands, select Macros.
8. Select the macro and click Add.
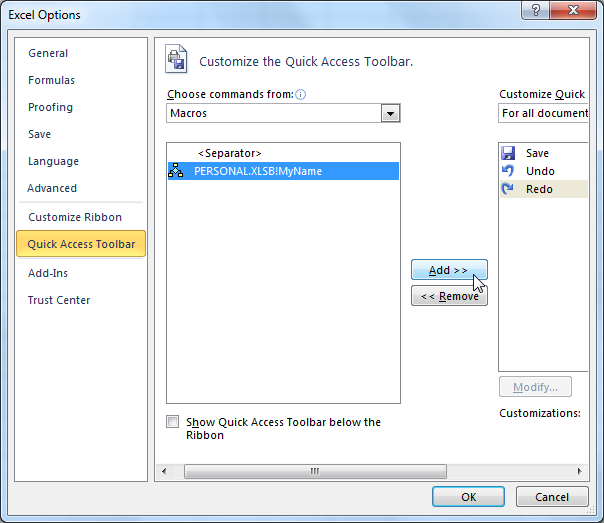
9. You can modify the button that will be added to the Quick Access Toolbar by clicking on Modify. For example, choose a smiley.

10. Click OK.
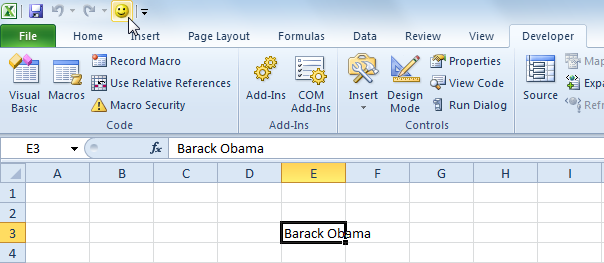
11. You can now execute the macro by clicking on the smiley button added to the Quick Access Toolbar.
Result:
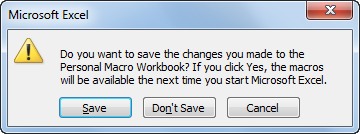
12. When you close Excel, Excel asks you to save the changes you made to the Personal Macro Workbook. Click Save to store this macro in a hidden workbook that opens automatically when Excel starts. This way the macro will be available to all your workbooks (Excel files).
Macro Security
To set up the macro security settings in Excel, execute the following steps.
1. On the Developer tab, click Macro Security.

2. Here you have four options. The first option will disable all macros. The second option will always ask you to enable a macro. The third option will only allow macros with a digital signature to run, and ask you to enable others. The fourth option will enable all macros.
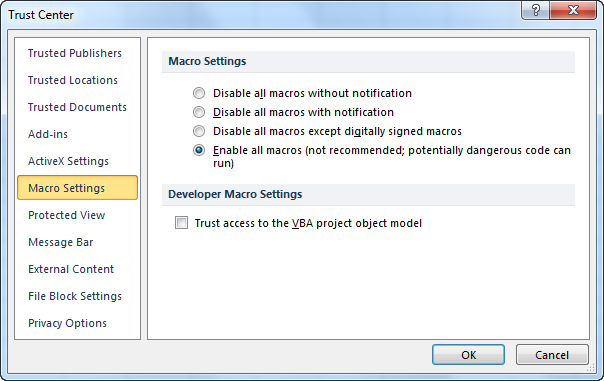
Our advice is to use the second security level if you are downloading a lot of Excel files from the internet. With this security level you can always disable the macro if you don’t trust the owner of the Excel file. Use the fourth security level if you are a beginner and only typing your own macros at the moment. With this security level you don’t have to enable macros all the time.
Protect Macro
Just like you can password protect workbooks and worksheets, you can password protect a macro in Excel from being viewed (and executed).
Place a command button on your worksheet and add the following code lines:
1. First, create a simple macro that you want to protect.

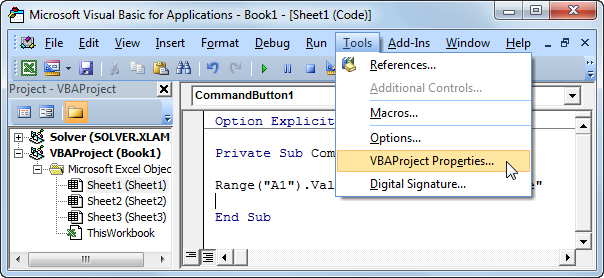
2. Next, click Tools, VBAProject Properties.
3. On the Protection tab, check “Lock project for viewing” and enter a password twice.
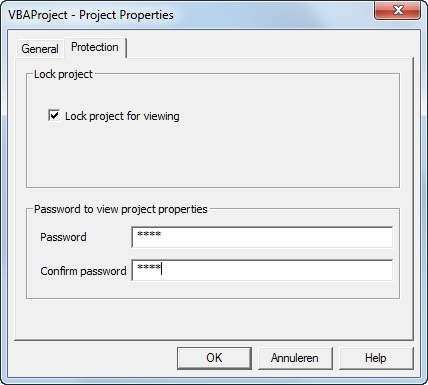
4. Click OK.
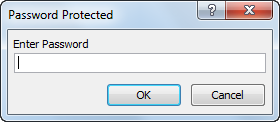
5. Save, close and reopen the Excel file. Try to view the code.
The following dialog box will appear:
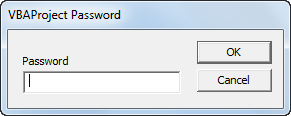
You can still execute the code by clicking on the command button but you cannot view or edit the code anymore (unless you know the password). The password for the downloadable Excel file is “easy”.
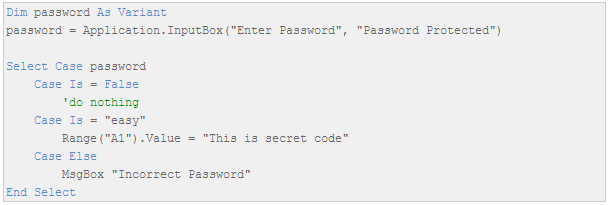
6. If you want to password protect the macro from being executed, add the following code lines:
Result when you click the command button on the sheet:
Explanation: The macro uses the InputBox method of the Application object. If the users clicks Cancel, this method returns False and nothing happens (InputBox disappears). Only when the user knows the password (“easy” again), the secret code will be executed. If the entered password is incorrect, a MsgBox is displayed. Note that the user cannot take a look at the password in the Visual Basic Editor because the project is protected from being viewed.